The use of the Premiere Elements Pan and Zoom Tool has been described in several places, including
Adobe's "Premiere Elements/Pan and Zoom to create video-like effect"
http://help.adobe.com/en_US/premiereelements/using/WSeffff8bffc802084-494411db12fd35452dd-8000.html
May 2013 Blog Post, "PE11: Pan & Zoom Tool, More than One Photo at a Time"
http://www.atr935.blogspot.com/2013/05/pe11-pan-zoom-tool-more-than-one-photo.html
Typically the focus is on the pan and zoom effect applied to stills with this tool. But, as pointed out in the Adobe reference cited above, the tool can also be used to apply a pan and zoom effect to a video (with Adobe's qualifying statement for videos "..that have minimal movement of objects in the video".)
This blog post will detail the application of the pan and zoom effect to a video to demonstrate the principles involved.
ISSUE
Some of the details involved in applying the pan and zoom effect to a video are different than those used when a still is involved. And, this difference can often lead to confusion as to how the tool works with video. Consequently, it seemed a good idea to take the time to review the details of Premiere Elements Pan and Zoom Tool/Pan and Zoom Effect applied to video.
SOLUTION
The principles involved in applying the pan and zoom effect to a video will be explored step by step using Pan and Zoom Tool of Premiere Elements 12/12.1 Windows 7 Professional SP1 64 bit and a DV.AVI Standard video clip.
HOW TO
Preface
Given a 29.2 seconds DV.AVI standard video on the Expert workspace Timeline of a Premiere Elements 12/12.1 NTSC DV Standard project......The first frame of that video is as represented in Figure 1, and the last frame of that video is as represented in Figure 2. Figure 3 points to that video's frame for which a pan and zoom effect is wanted.
 |
| Figure 1. First Frame Of Timeline Video In Expert Workspace. |
 |
| Figure 2. Last Frame Of Timeline Video In Expert Workspace. |
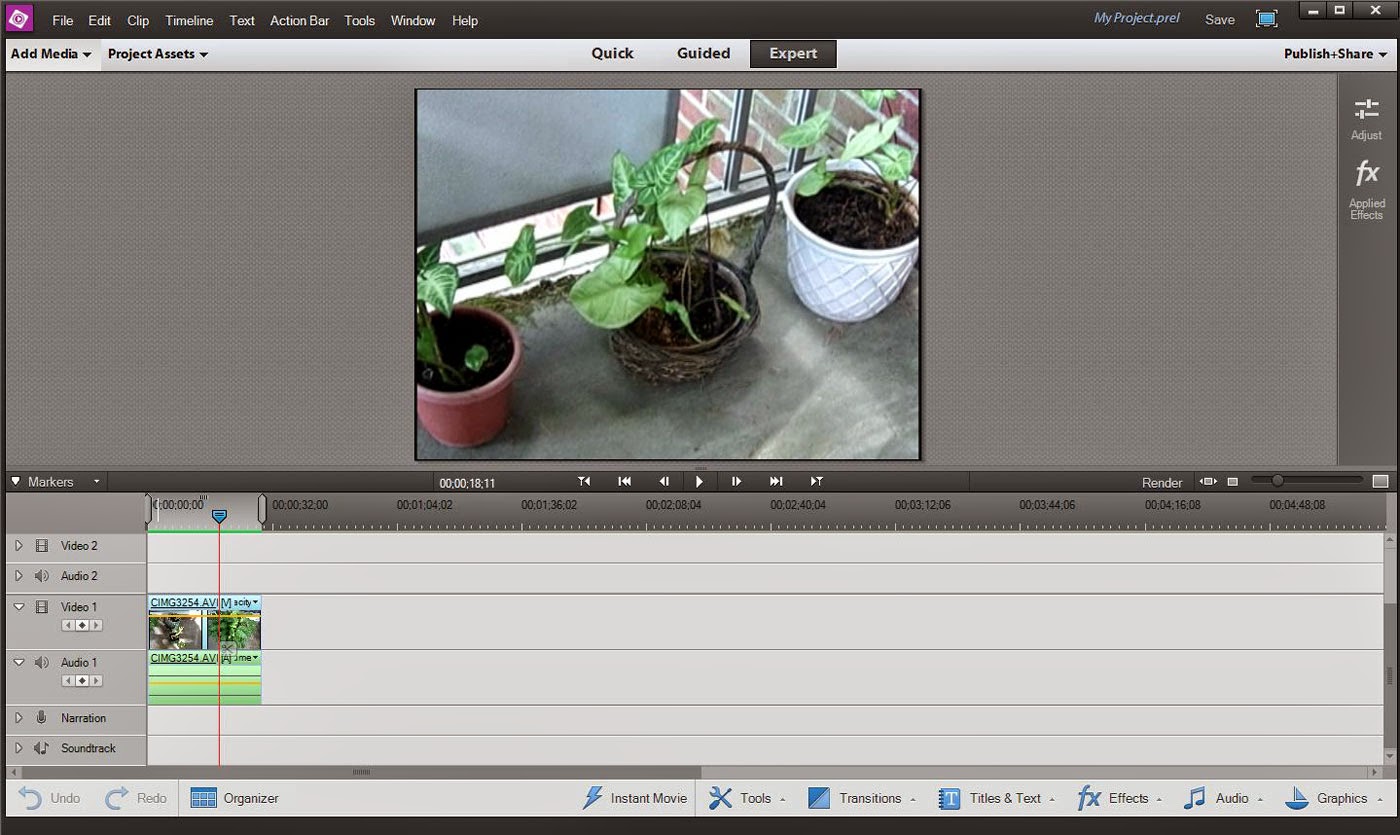 |
| Figure 3. Expert Workspace Timeline Video Frame For Which A Pan And Zoom Effect Is Wanted. |
Whether or not the Timeline Indicator is on the Expert workspace Timeline video frame for which a pan and zoom effect is wanted (as shown in Figure 3), when the special Pan and Zoom workspace opens to the command of Tools Menu/Pan and Zoom, what presents in the special Pan and Zoom workspace is not the Expert workspace selected frame but instead
- the screen displays the first frame of the video
- the bin below the screen displays only two thumbnails, one for the first frame of the video (found highlighted in the bin) and the other for the last frame of the video. See Figure 4.
 |
| Figure 4. Special Pan And Zoom Workspace After Selecting Expert Worksapce Video Followed By Selection Of Tool Menu/Pan And Zoom Tool. |
- only one Focus Frame possible for every video frame in the video
- no Hold option ("duration for which the focus stays on an object before panning comes into effect")
- Pan option related to duration between Focus Frames (could not be reset by clicking on the on screen pan duration value or clicking/dragging Focus Frame markers in the Timeline which is represented by the blue horizontal bar below the screen.)
Apply Pan and Zoom Effect to Frame @ 00;00;18;11 of this video which has the duration of 00;00;29;06.
(Refer to Figure 3 for the video frame to which a pan and zoom effect is to be applied. See Demo 1 at the end of the STEPs to view the end result which represented 7 focus frames added between the first and last to achieve the pan and zoom effect.)
STEP 1
Highlight/select the Timeline video in the Expert workspace. Go to Tools Menu/Pan And Zoom to open the special Pan And Zoom Workspace.
STEP 2
In the special Pan and Zoom workspace (as shown in Figure 4), move the Timeline Indicator in the blue bar below the screen to the right to review the video frames between the first and last frame of the video.
Tip: If you decide to view the Timeline content using the Play/Pause Toggle to the left of the blue bar under the screen, remember to click "Exit Preview" before attempting to proceed with your pan and zoom effect activities.
Decide on the frames that will be involved in the overall pan and zoom effect. Then the basic plan is to add focus frames between the first and last that were seen when the Pan and Zoom Tool workspace opened.
- move the Timeline Indicator to the first of the involved frames in the video
- click on New Frame to generate a Focus Frame - remember, only one Focus Frame possible per video frame
- position and size the Focus Frame accordingly
Focus Frame 1

Focus Frame 2

Focus Frame 3


Focus Frame 6

Focus Frame 7

Focus Frame 8

STEP 3
Click Done in the special Pan and Zoom Workspace to return to the Expert workspace. Render the Timeline content to get the best possible preview of the playback of that Timeline content in the Edit area monitor.
Note: Unlike a still source, the duration of the panned and zoomed video in the Expert workspace is the same before and after the pan and zoom effect is applied with the Pan and Zoom Tool.
The end result is represented in the Demo 1 which is a wmv export of the Timeline's video to which a pan and zoom effect has been applied with the Pan and Zoom Tool.
Demo 1. Result From Pan and Zoom Effect Application Described In This Blog Post
_____________________________________________________________________________
Work In Progress
ATR